Showing posts with label altered art. Show all posts

Saturday, 15 June 2019

Free art update

 Only just realised that whilst I posted these on my social media sites I had forgotten to update my blog-so here is a catch up.

I love taking part in Free Art Friday and Art Abandonment as well as Bristol Rocks and Sidmouth Smilestones.  Basically make art and leave it for someone to find, easy.

This was a small watercolour I sketched whilst at a hospital appointment recently.  You sit there, often for a couple hours so I tend to sketch as it keeps me off my phone and my mind occupied.  I then usually leave the sketches (unless they are my urban sketches which tend to be in a proper sketchbook) for someone to find, pass on or leave for someone else.


I also tend to have some posca pens and a small clear nail varnish with me in my small travel kit.  These come in really handy if I spot any pebbles/rocks that I can draw on and  leave for others to find.  The nail varnish providing a clear protective lacquer. 


I never really know what I am going to draw, it depends on the shape of the stone but I tend to have half a dozen "go to" designs that tend to work on various shapes.

I usually leave contact details of the groups mentioned above (usually via Facebook/groups) and people can register a find online and also post a picture if they then move the stones to a new location and abandon them for another to find.

I think it is a lovely idea and a great way to spread a smile.

Do you do anything like this, I would love to hear what you do

kyla


Saturday, 26 August 2017

Royal Academy of Art Summer Exhibition

 For the past few years my husband and I have travelled to London every year to see the Royal Academy of Art Summer Exhibition.  It is an amazing exhibition that runs every summer.  Anyone can submit a piece to be considered, from a grandmother in wales, a student in Birmingham, a celebrity musician through to a member of the RA-anyone (BBC iplayer usually has a great programme where they follow some of the people through the submission process.  If you ever get a chance to watch them I recommend it).


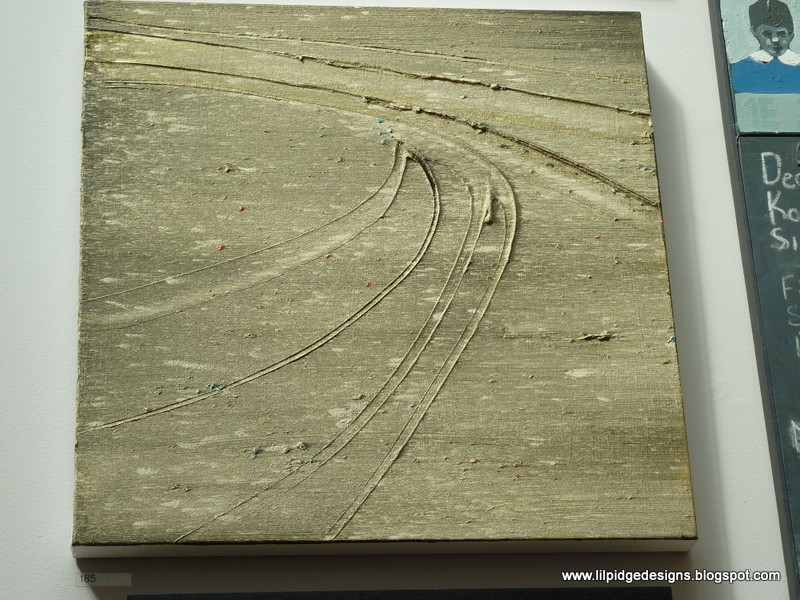
 There are SO many different mediums from fabric, sculpture, glass, paint, digital etc with styles from classical to modern.  The picture above is a fabric and stitched piece.

  
This one of skaters was one of our favourite in the exhibition.

This Amy Winehouse figure was made from beads and findings.
 
 Some of the artists are instantly recognisable such as this Gilbert and George piece

 Whilst other pieces took you by surprise

 I particularly liked this piece

 This large piece of lace was a great piece to see hanging on the wall


 There was SO many different styles.

 These pieces had money stuffed into their mouths!

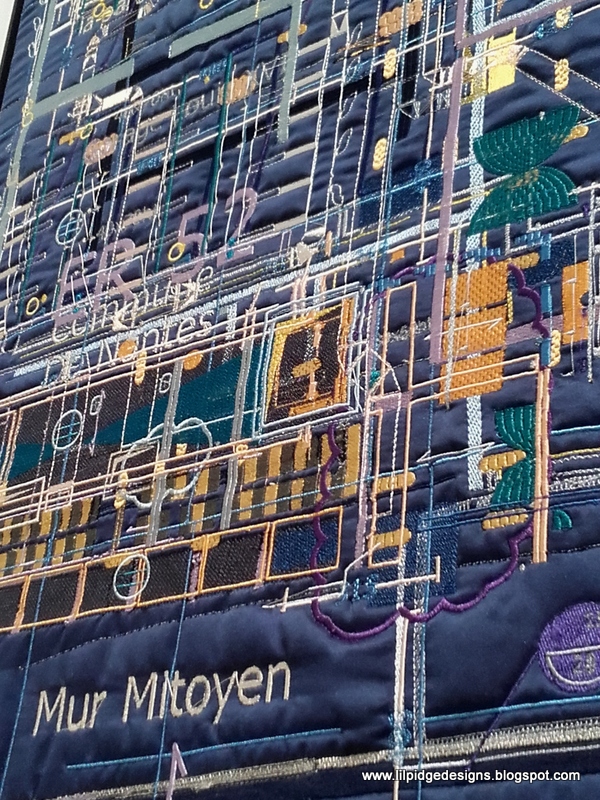
 In the architectural section this digital 'blueprint' was stitched onto fabric

 Whilst in another gallery this chair was made from spent ammunition cases

Once again my eyes were drawn to pieces such as this on old book pages.

Inspiration at every turn-a great day out
Kyla
 

Saturday, 30 July 2016

Whiskey Money Boxes

 Just a quick update as I realised I hadn't blogged a money box I made recently.

The photos aren't great but basically I use the tin/cardboard tubes from whiskey bottles to create money boxes.  This one was especially poignant as it was the last bottle my father had before his death so I decided to make a money box for my mum.

I start by gesso'ing the tube to create an even layer then add torn papers and emphemera.  I often add a watered down gesso layer to blend everything together adding gems, items of importance, ink dirbbles, stencils etc. 


 I cut a slit to add the money and the sunflowers are torn from napkins with a lady bird added

 I added leather die cut flowers, buttons, the word 'Mum' from metal etc
I then applied several top coats of a spray varnish to protect it all.

Full of sentimental value and made with love

Kyla
 

Saturday, 29 August 2015

Tunnel book round up

 A while ago I joined the Collabor-ART page.  Donna who I met at a WOYWW crop put me in touch with them, then the group closed (just bad timing I think)!!!  Well, I met up with Sarah one of the founding members as part of Free Art Friday and she set up a FB group and asked if we would like to do a tunnel book group project!  It sounded like fun so I signed up.

It was easy to do, purchase a childrens board book from a charity shop, cut a series of holes in each page, choose a theme and paint the cover in the theme before posting it to the next person who completes their page and so on until eventually after a few months it came back to the owner.

This  was my 50p book!
 
 I cut holes in each page to make a 'tunnel' and chose the theme of "Discworld" in honour of Terry Pratchett one of my favourite authors.
 On the cover I painted Great A'Tuin the gigantic turtle that floats across the skies with the discworld upon its back.


 On the next page I decided to use the librarian as the inspiration.  Now in Discworld the librarian is an Orang-utan (he wasn't always, the strong magic at the university changed him and he decided to stay that way!). Now, having never completed a book before I had NO idea that it was easier if you did a double page spread, but no worries as the next person on the list, Carmen, kindly finished the double page for me (I love the eyes peeping out from between the books!)

 Carmen then did a Death spread (I love the depth of colour on these pages).
 Next up was Jas and a spread about Greebo (a cat with attitude).  The shine and lustre on these pages are sublime.
 The next pages are by Sarah - Rincewind with the Luggage (I love the feet!) and the way the hat is thrown over the hole cut away.
That means I have the final double page and the back cover to finish off.  No idea what to do on the double page spread, but I think I will do Death walking off into the sunset with Terry on the back cover, fitting.

Thanks Sarah for organising us and for everyone taking part.  It was totally amazing and I am in awe at the talent and would happily take part in another.

Kyla
 

Thursday, 1 January 2015

Mens gifts

 So, did you all have a wonderful New Year?  I always find its a bit of a damp squid where a taxi costs £40 and pubs charge you to walk through the door to spend money!!  Plus living in a City with 2 universities (yep, 2) it means we are over-run with students so town is  a bit of a no go area.  This meant we stayed in and watched a TV dramatisation about Tommy Cooper!

Now the tree is down, the Christmas cards cut up and I have already made some re-purposed cards ready for next Christmas (Sam Hettie you would be proud of me!).

So, this means I have had time to upload some more photos of the gifts I made over the past few months.

This time its mens gifts.  Me are SO difficult to buy for let alone make for.

So this year I made 2 of the mens gifts, both basically the same with a few tweaks.

I covered a note book in leather.  This one was for my Uncle in New Zealand.  I added a binding to keep the book closed and I created end papers for the book with a map of wales (where he used to live before emigrating).


 The next book I made was similar and for my brother.  I made a wrap out of Ecuadorian fabric that he brought back for his wedding (he and his wife lived there for a few years)


 I used maps of London (where they currently live) for the end papers.

So there you have it, a couple of presents for men-now if anyone has any other suggestions I have my brothers birthday on Valentines day!!!

Happy crafting
Kyla

Saturday, 26 January 2013

Altered and upcycled box tutorial

Hello, everyone.  I do hope you are having a lovely weekend.

If you follow me from WOYWW you may have seen an altered box hiding at the back in various stages of altering.

Well, I finished it and thought I would do a tutorial.  Its a little photo heavy as I still cannot fathom why youtube takes so long to upload (hrs for a 3 minute video!!), but if you'd like to learn how I made some embellishments for pennies then read on.


 I started with an empty box.  It contained a natural sweetener and the box seemed too good to chuck so I thought I would alter it and turn it into a treasure chest.

This is the before


 This is the after.  It cost virtually pennies to make!


I painted the box with acrylics, a mix of brown, black and green.  I then dried it with a heat gun and added some gold, black and green wax to the edges, buffed it up and painted a satin water based acylic varnish over the box to seal it.


To make the embellishments I made some moulds from a metal cog and a skull and cross bones pendant.  

I used a hot glue gun to fill the moulds


 When dry, pop them out of the moulds, there may be some overspill but there is a real easy fix

Tidy up the embellishments with scissors.  I use my Tim Holtz scissors, they have amazing micro serrated blades and this means they are a great work horse.

 When they are all tidied up I covered them in black acrylic dabber and then rubbed gold wax over them and buffed them up.  I sealed them with the same acrylic  sealant and now they are ready to use.

 I glued them to the box with multi medium and added some hinges that I stamped with a paper artsy stamp onto grunge paper and cut out.  I coloured the hinges with copper distress stains and attached them with mini brads


I also made a lock with a paper artsy stamp on grunge paper and added a couple of larger brads at the front which I texturised by walloping with a hammer!!


So there you have it.  A treasure chest ready to fill with whatever you choose.  I was thinking scrunching up some brightly coloured tissue paper inside and filling the box with chocolates!!  

Either way, I think this is a great gift box, a one off and best of all its upcycled and cost pennies...whats not to like?

I'd love to know what you think.

Happy crafting

Kyla

Tuesday, 24 July 2012

What do you do to protect yourself?

 Hello from a sunny west country!  Yep, finally Summer appears to have arrived...lets hope it decides to unpack its suitcase and stay a while!


Last week on WOYWW  was a small orange dolls dress.  I gesso'd the dress, stamped it and made a chain belt for it which I attached small items, a wrench, sewing machine etc....all items that a woman has at her disposal as part of her daily life.


The box was a left over freebie from fellow Coven member Trace and Julie's dad gave me some edging-thanks girls.  I thought I would make something to represent a Woman's Armour-some days we wear certain clothes to protect ourselves (a suit for  a meeting may put us in the right frame of mind for example) but I find that being a woman means I can do ANYTHING....so long as I have the correct tools (and a large dose of bloody mindedness!)


 The box represents all the tools a woman uses, clothes, a bit of bling, food, sewing, timekeeper, keeper of family contacts and memories.....so many tools!


The box was covered in vintage book pages and whitewashed with a little distress ink to add some age, I added feet which were old domino's.

A one of  a kind piece, I put my heart and soul into it, and I must admit, I really quite like it-it's not my usual style but does sum up my determination to try and do EVERYTHING in my life!!!!

I am entering this into the Simon Says Stamp and Show challenge which is Hey Girl and can be found here

I hope you get to enjoy the sun for those in the UK, and Happy Crafting

Li'l Pidge x

Tuesday, 10 January 2012

Use it Up!

The first full week at work....and boy is the week already dragging!!  Though the week has already been brightened by the first Coven meeting of 2012 (and the planning of which shows we want to attend, crafty retreats etc!)-I really miss my weekly get together for a night of crafting with the others-it was a hugh relief to see them all and put the world to rights!!

So, what's on show today?  Well, this is the card I made for my Mum's birthday (hello mum!). As ex Navy she travelled when she was younger, but she is amazing as she still travels having been to New Zealand, Peru and Romania (mainly walking and hiking up mountains!!) so I thought this Tim Holtz paper would be perfect.


 I added a triple embossed Buddhist (as we both have a fascination with eastern traditions) tag, flowers and a crystal pin-I can finally blog this as its her birthday today so it should be safe to blog now!!

As well as joining Kate Crane's 366 challenge I have also joined the UIU (Use it Up) challenge (blinkies are on the right hand bar)-you know the scene, pretty shiny crafty stash calls out to you 'help me, please save me from this imprisonment in  the shop' so in an effort to HELP the poor innocent stash you take it back to be loved and stroked in your craft room.....but alas, loving and stroking isn't enough for you!  Before long, another love comes along, prettier, more strokable stash and you begin to covet that-and your original stash becomes buried and you forget all about it!!!

Well, something like that!  So, I know I will buy stash, but in an effort to only buy things I KNOW I will use I am going to try and Use It Up!!

This is my first UIU:

The container is an old microscope slide container that I coloured with alcohol inks and stamped crows on it, some old bead trim I have had for AGES, an old button and some fabric roses I found in my button tin (didn't even know they were in there!!).  Inside is lined with old music pages and the skeleton is from Poundland (about 5 for £1) back in October with red crystals added to her eyes.  The glass jar was bought from Paperartsy at the NEC and I filled it will seeds from the kitchen (I think fenugreek)


I added a cotton reel wrapped in fancy wool as a stand and there you have it......my first UIU.

Also, a big Hello  to my new follower, Laura, from the artful splodger.  I met Laura at the NEC, she sells the most amazing stampotique and Octopode stamps (as well as many other lovely pieces).


Friday, 11 November 2011

Lest we forget.....a calendar

I am REALLY enjoying my 2 days off....I promised myself no housework (now, those of you that know me will understand that this is very difficult (lol)...) but just crafting.....

Yesterday I spent ALL day making my Nan's Christmas pressie....now I cant show it yet (I doubt at 87 she reads this but I don't like to assume)...but I hope she will like it.  I have to be REALLY organised as I have family in both the USA and NZ so I cant do a 16:00 Christmas Eve dash to buy all my pressies like some do!!

So, in a bid to clear out older stash I finally altered this calendar...


I coloured it with inks, distressing and sponging through some sequin waste adding some foil on the edges and sprinkling water to create a little more interest.


 I stamped Tempus Fugit (time flies) and embossed on the bottom and added a stamped pocket watch onto a tomato puree tube which I added some grunge wings to and covered the watch face with sepia glossy accents.

 I glued on a press stud and a Tim Holtz metal book corner.  Then to decorate the back I embossed another piece of tomato puree tube with a TSS mould, adding some black acrylic and sanding back.  I added a couple of chipboard cogs, a couple of which I added some glossy accents to add a bit more dimension.

I know its nearly the end of the year...but thankfully its a perpetual calendar so its not a lost cause!


I made lots more but its now dark so I need to wait until its light to get some decent shots (I'll blog them later).

One thing I have made recently is some air force inspired cards...since its 11/11/11 I thought it may be appropriate to share them.

I know a lot of forces personnel (my childhood home town used to have a RAF base) and I always think of those around now.

Lest we forget....

Li'l Pidge x